How to Put Up a Wooden Garden Fence and All You Need to Know
Installing a fence can be a daunting task for many homeowners, but it doesn’t have to be. With the right tools, materials, and a bit of know-how, you can successfully install a fence that not only enhances the look of your property but also provides privacy and security.
At [company name], we specialize in helping homeowners achieve their dream outdoor space, and fence installation is just one of the many services we offer. In this guide, we’ll walk you through the process of installing a fence step by step, from selecting the right materials to finishing touches.
Step 1: Planning and Preparation
Before you start digging holes and setting posts, you’ll want to take the time to plan out your fence installation. This involves measuring your property, choosing the type of fence you want, and selecting the appropriate materials.
Measure Your Property
The first step in planning your fence installation is to measure the area where you want to install the fence. Use a measuring tape to determine the length and width of your property, and mark any areas that need special consideration, such as slopes or uneven terrain.
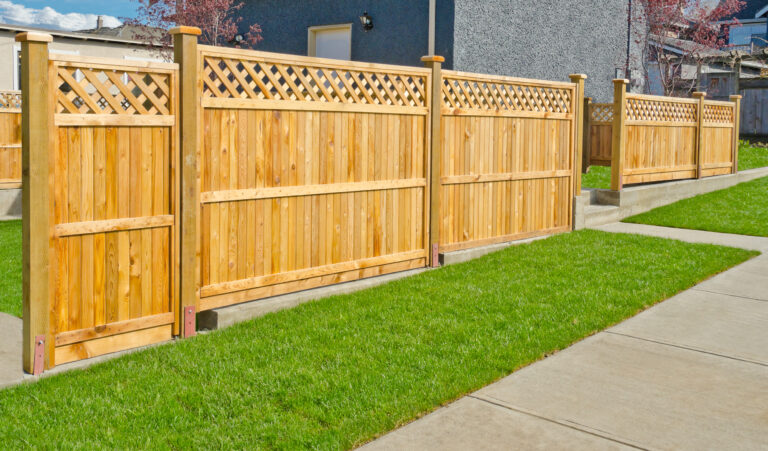
Choose Your Fence Type
Next, you’ll want to choose the type of fence that best suits your needs. This could be a picket fence for decorative purposes, a privacy fence for security and seclusion, or a ranch-style fence for livestock or pet containment. Consider the style of your home and the purpose of the fence when making your decision.
Select Your Materials
Once you’ve determined the type of fence you want, it’s time to select your materials. At [company name], we offer a wide range of fencing materials, including wood, vinyl, and metal. Consider factors such as durability, maintenance, and cost when choosing your materials.
Step 2: Fence Installation
With your planning and preparation complete, it’s time to start the fence installation process.
Mark Your Fence Line
The first step in fence installation is to mark your fence line. This is done by placing stakes at the corners of your property and running a string between them to create a straight line. Use a measuring tape to ensure your fence line is level and square.
Dig Post Holes
Next, it’s time to dig post holes. Use a post-hole digger or auger to dig a hole for each fence post, ensuring that each hole is deep enough to support the height of your fence.
Set Fence Posts
With your post holes dug, it’s time to set your fence posts. Place each post in the hole and add concrete to secure it in place. Use a level to ensure each post is plumb and adjust as necessary.
Install Fence Panels
Once your fence posts are set, it’s time to install your fence panels. This involves attaching the panels to the posts using brackets or screws. Use a level to ensure your panels are straight and adjust as necessary.
Add Finishing Touches
With your fence panels in place, it’s time to add any finishing touches. This could include adding a gate or decorative elements such as post caps or finials.
Step 3: Maintenance
Proper maintenance is essential to ensure the longevity of your fence. This includes regular cleaning and inspection, as well as addressing any damage or wear and tear.
Cleaning
Regular cleaning is important to prevent dirt and grime buildup on your fence. Use a mild soap and water solution and a soft-bristled brush to clean your fence, and rinse thoroughly with a garden hose.
Inspection
Regular inspection of your fence is important to identify any damage or wear and tear. This could include loose or broken panels, as well as damage from weather or pests.
Repair
If you notice any damage to your fence, it’s important to address it promptly. This could involve replacing broken panels